As predicted, April was a slow one on the Dunsel Line. There were no new purchases even though some were available. A pair of CA&E 450s was out there, but I passed these up. It’s just as well. I’ve already got two North Shore trains to work on in addition to the Skokie Swift pieces. Makes sense to at least try to finish some of this stuff, right?
As planned, I went ahead with more 3D modeling projects for the 3200 series cars. Unfortunately the Form 5 coupler is still not complete. My own attention to detail is really getting the better of me here. At this point I’m primarily stuck on one specific section of this model and lately I haven’t wanted to think about it so I’ve been avoiding it. (Not exactly an attitude that’s conducive for getting things done.)
Another project which I have been modeling is the steps for the 3200s. For whatever reason, when MTH made these cars, they didn’t include the steps. I suppose this stemmed from the same issue with getting the underbody equipment totally wrong. (Thankfully, when they produced the 6200 series, they fixed both of those issues.)
This is actually been a project that I’ve been working on since my last trip to IRM. For such a simple model I’ve really spent far too much time reworking things to get them right. Early on I kept getting holes in the model that refused to be patched and I hadn’t yet discovered the “intersect with selection” method which is necessary for making the angled portions of the side steps.
This method involves drawing a shape (in this case it was a rectangle) shifted to the appropriate angle and then moved to intersect the part of the model that needed to be “cut” at an angle. Once in place, both parts (the shape and the model) were selected and right clicked. This brings up a menu from which intersect is an option. It has two suboptions: “intersect with model” and “intersect with selection.” Intersection basically finds all the points of intersection between the two pieces and draws definitive lines at these points and incorporates them. From here the rest is easy; all that’s left is deleting all the unnecessary parts.
I wasn’t satisfied with how they looked on my computer in Sketchup or in the Shapeways render. They looked too thick to be right. I had to remind myself that the sides came out to be 0.6mm thick, the smallest workable size in Frosted Ultra Detail and this was thin enough to look good on the snowplows. Despite my misgivings I had them printed anyway and they arrived today. I am extremely pleased with how they turned out. This should serve as a reminder that I really should just take a deep breath and relax. (But it won’t.)
Speaking of the snowplows, I have made a discovery: they’re too wide! How frustrating. The angled bars at the top along side of the framing are supposed to fit neatly within the gap under the anticlimber. Unfortunately, the model plows are about 1mm too wide to fit within this space.
Attempting to rescale the snowplows didn’t work either. (Unlike the steps, the snowplows weren’t drawn full size and then scaled down. I mathematically scaled down the dimensions and then rounded these numbers to fit within the Frosted Ultra Detail guidelines.) In order to get them right I’ll have to redraw them. (All dimensions save for the width are correct, so cutting out 1mm from the center won’t work as this will decrease the distance the snowplows protrude from the ends of the frames.)
I’m not looking forward to this, but I’ll make the necessary modifications because it will gnaw on me until it’s right.
Another project I’ve been working on is the full-width cab partition in its closed state. (I’ll also be making one in the open state; that is, one where only the motorman’s position is closed off to the public.) This is nearly ready and is publicly visible in my list of designs on Shapeways. I’m still not satisfied with a few details at the moment. Something looks off about the position of the windows in relation to the “bar” above the cab door. I’m going to take some more measurements before finally sending this one out to be printed.

In addition to checking and/or correcting the window heights, the door handle also has to be finished.
The wheels which I ordered from Northwest Short Line arrived and—as expected—look good. Now I just need to build a pair of trailer trucks for them. But since these have arrived, I found myself wondering about the trucks I ordered for the Skokie Valley train. I placed the order for these in early to mid January and still haven’t received them. Apparently they’re still waiting on parts, but at least the order wasn’t lost!
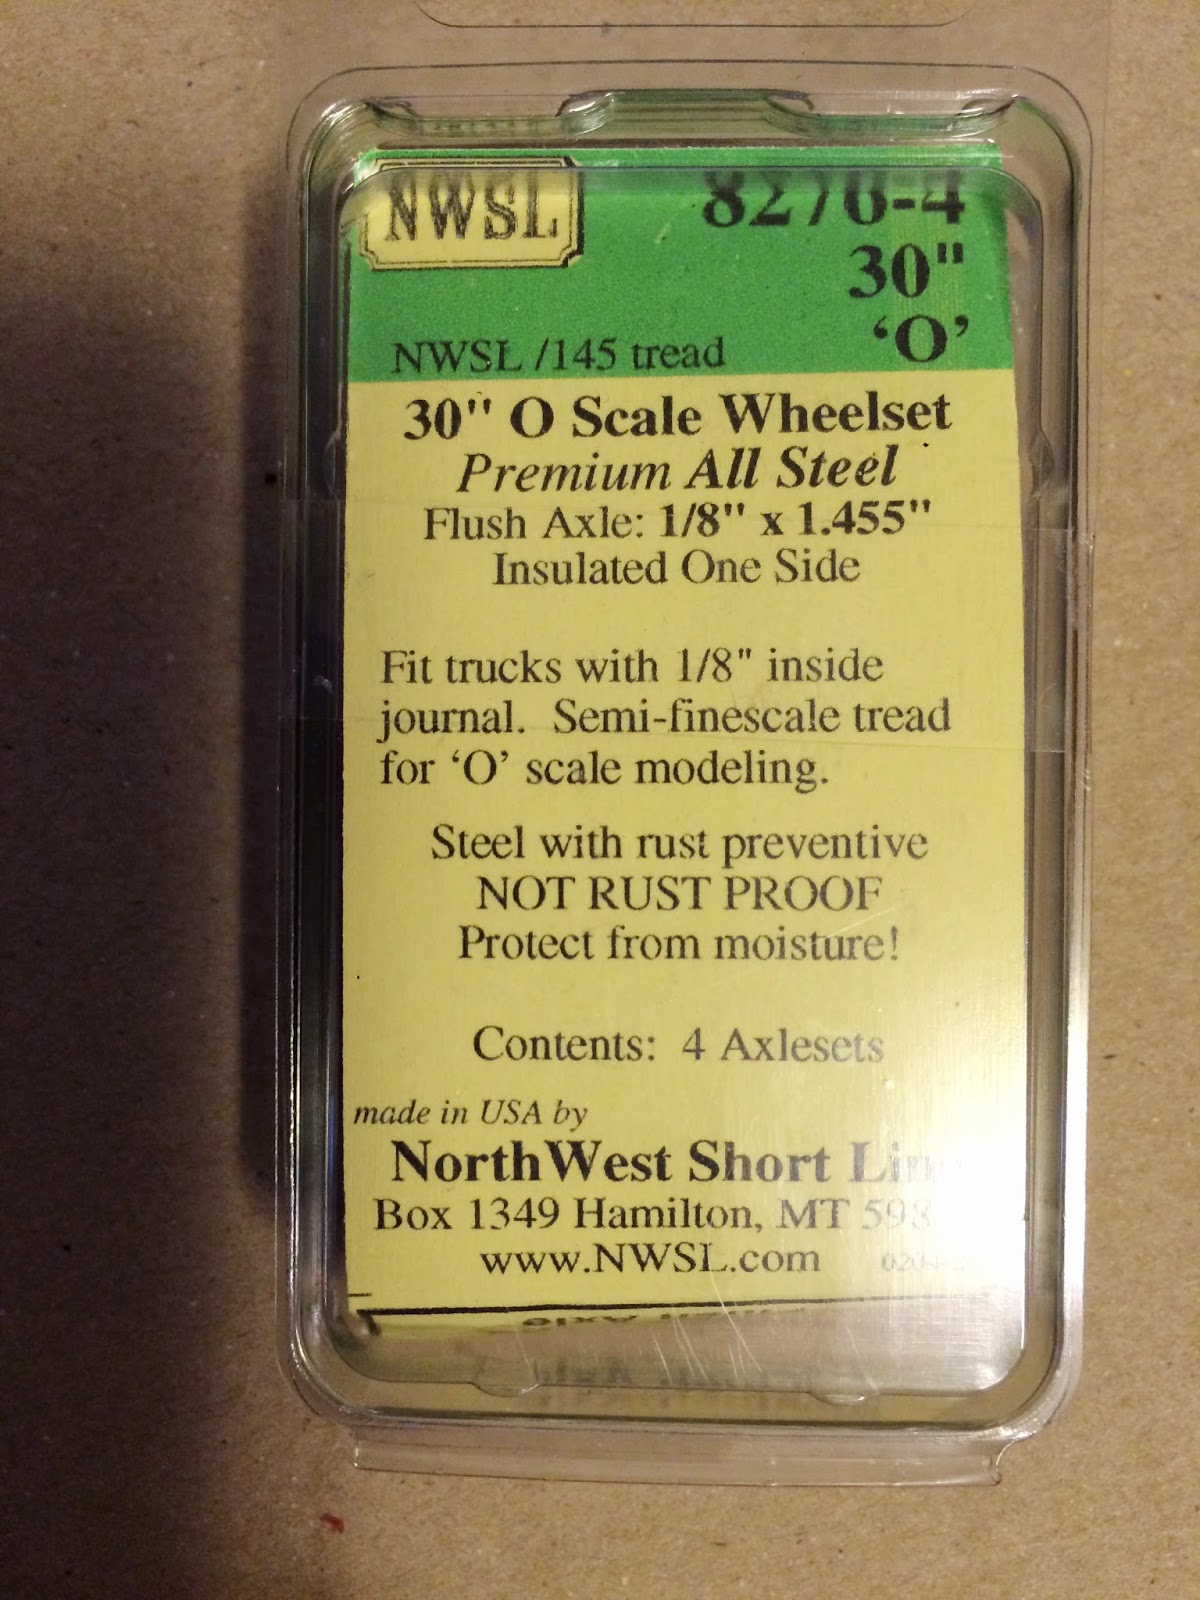
These aren't 100% correct, but the difference between 30" in 1:48 and 28" in 1:45.2 is so close that getting the commercially available set is close enough.

A side view of the wheels.
I've been meaning to drop you a line but got busy .... apologies! But, I've got some ideas for the MTH trucks. I think I've worked out a design based off of old Wagner power trucks. I met with Ed and got some good ideas. I just need to "tool up" (get a drill press and maybe band saw) and I think a decent design is possible. I'll send an email ... Terry
ReplyDelete